Interlibrary Loan materials are checked out in Millennium as well as ILLiad for patron use. In order to ensure both accounts are clear, each item must be checked in in both locations. Circulation staff should check in returned materials when they are brought back to the library, but sometimes things miss this step. To make sure all items are off patron accounts, returned items should be checked in in Millennium and then in ILLiad.
MTA Items
If the item was an MTA item, pull the letter out of the MTAs Sent file folder and write the return date on the front page. Then stick the letter in the MTAs Returned file folder. Proceed with the remaining check in steps.
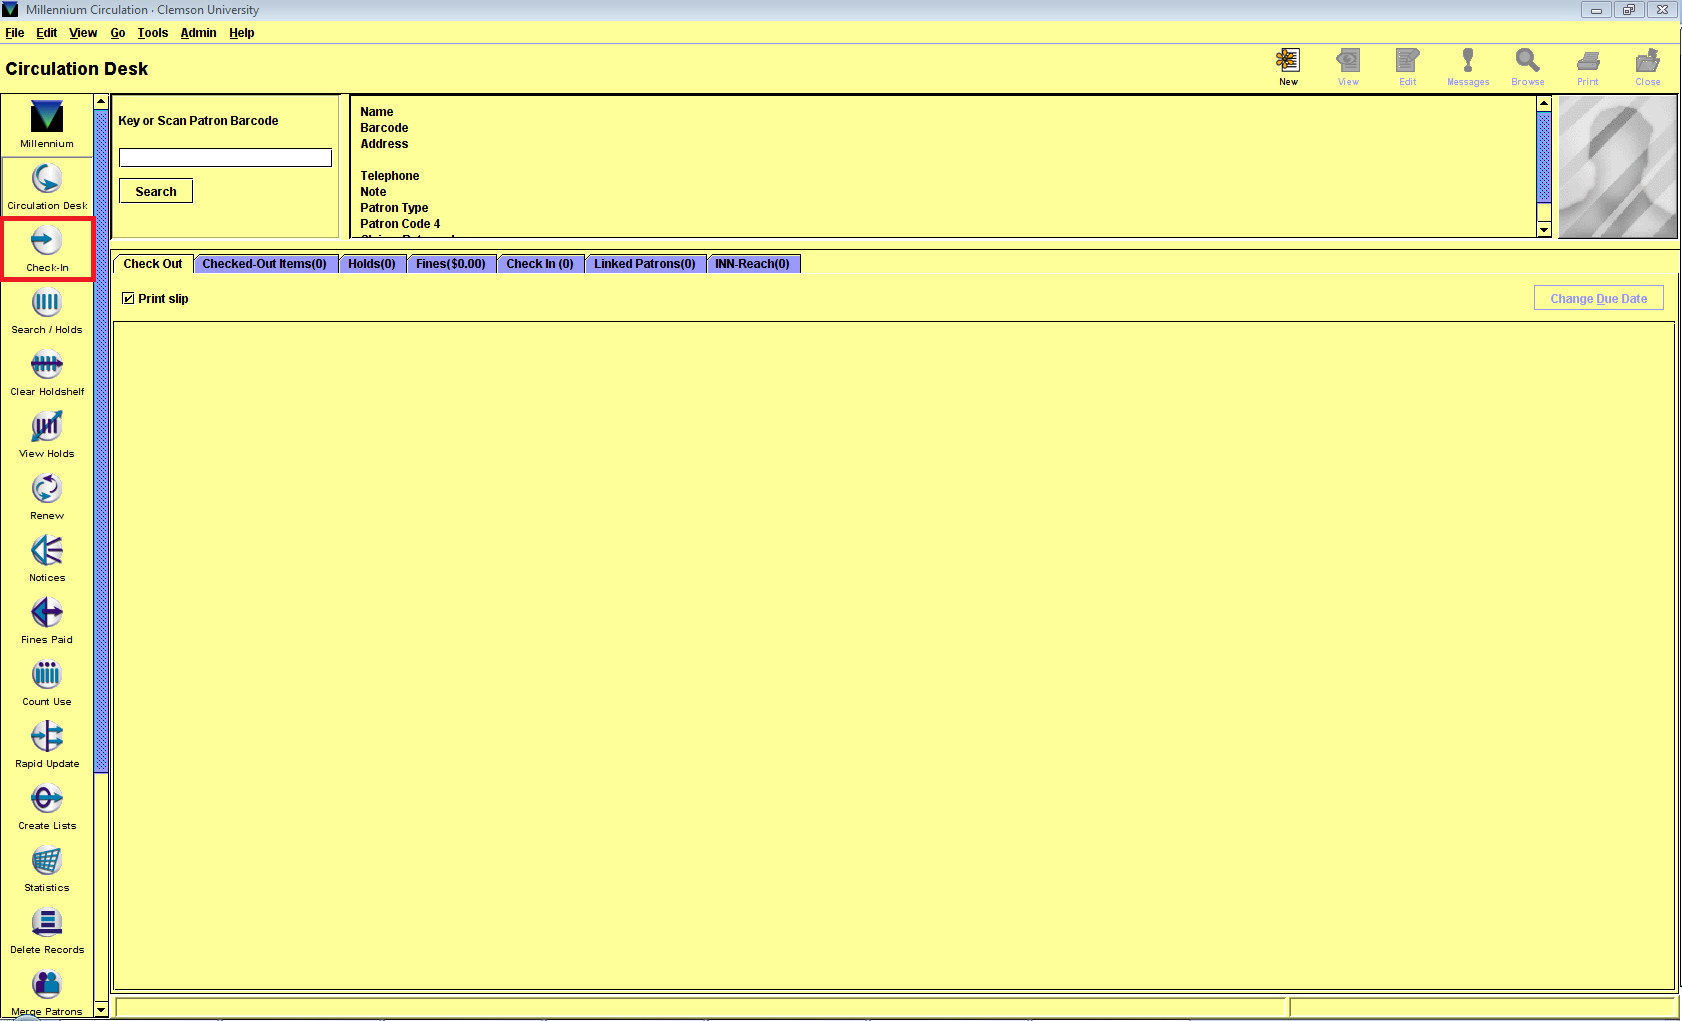
Checking in Items in Millennium
- In the Millennium client, click “Check In” on the left sidebar.
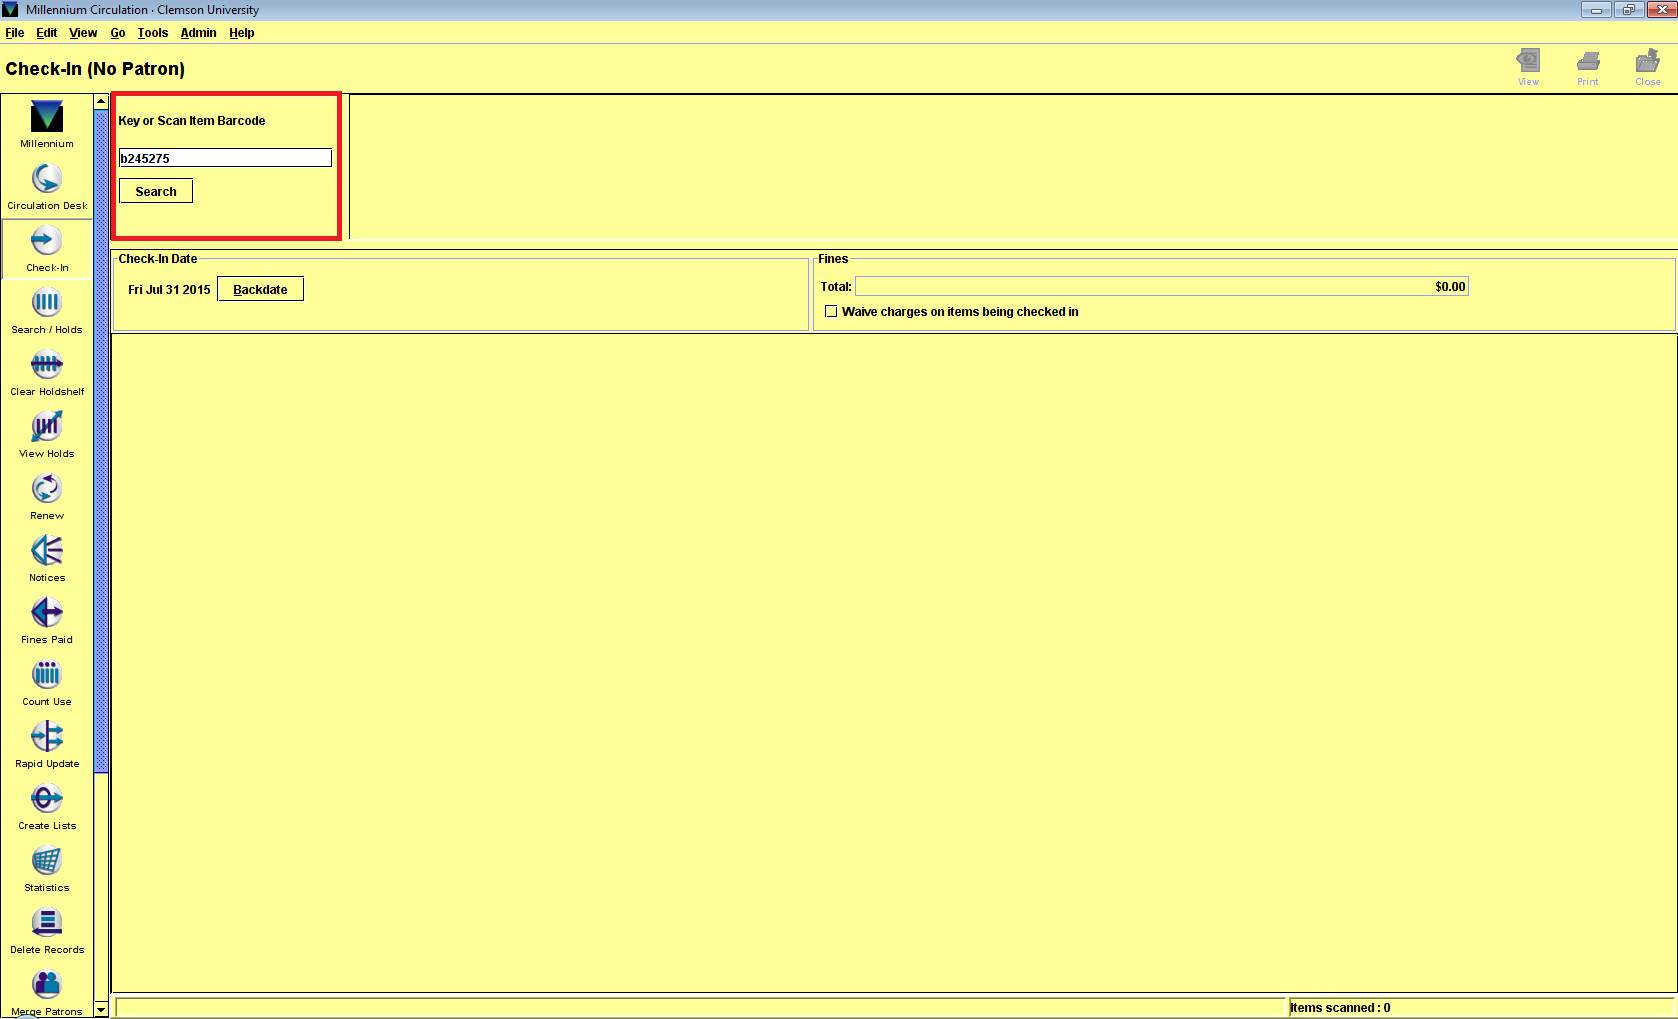
- Enter the letter “b” into the bar code box in the check in module, then scan the item bar code or type the transaction number and hit enter.
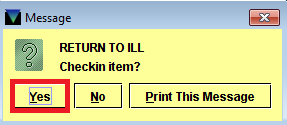
- Click “Yes” (or press the space bar) on the pop up window if all of the pieces are accounted for.
- Repeat steps 2 and 3 for each item that is returned.
- When finished with checking in returns in Millennium, close the check in batch by hitting the “Close” button in the upper right corner. This will ensure users aren’t accidentally in use by the system if another staff member needs to access their account in Millennium.
- Next, check the item in with ILLiad.
Checking in Items in ILLiad
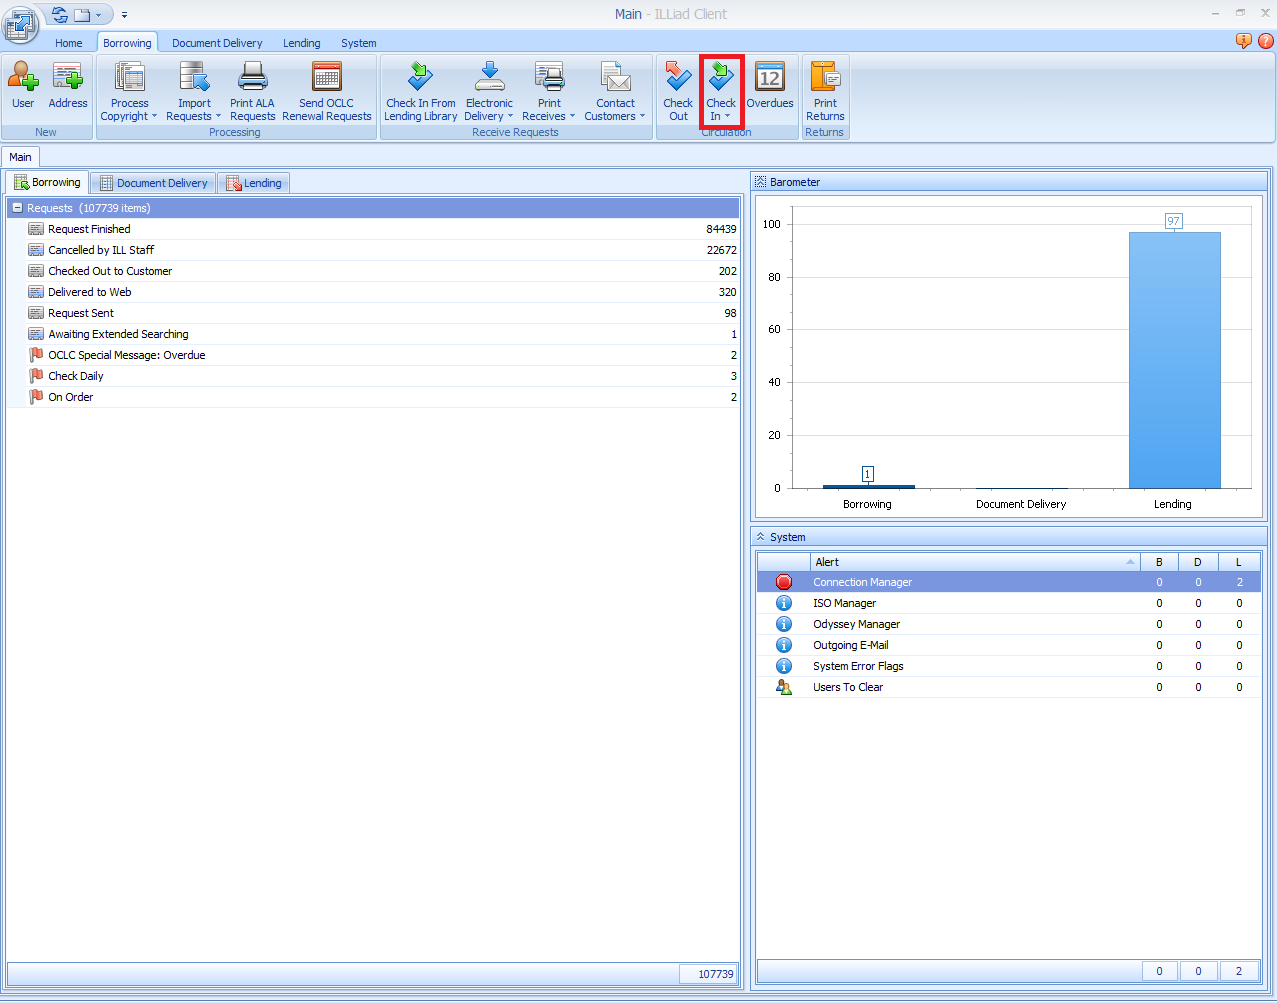
- After checking in items in Millennium, open the ILLiad client.
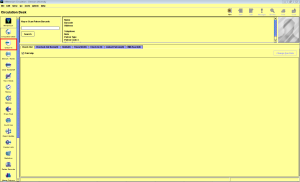
- Click on the borrowing ribbon.
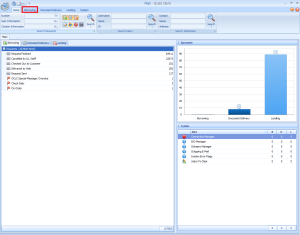
- Click on the “Check In” button.

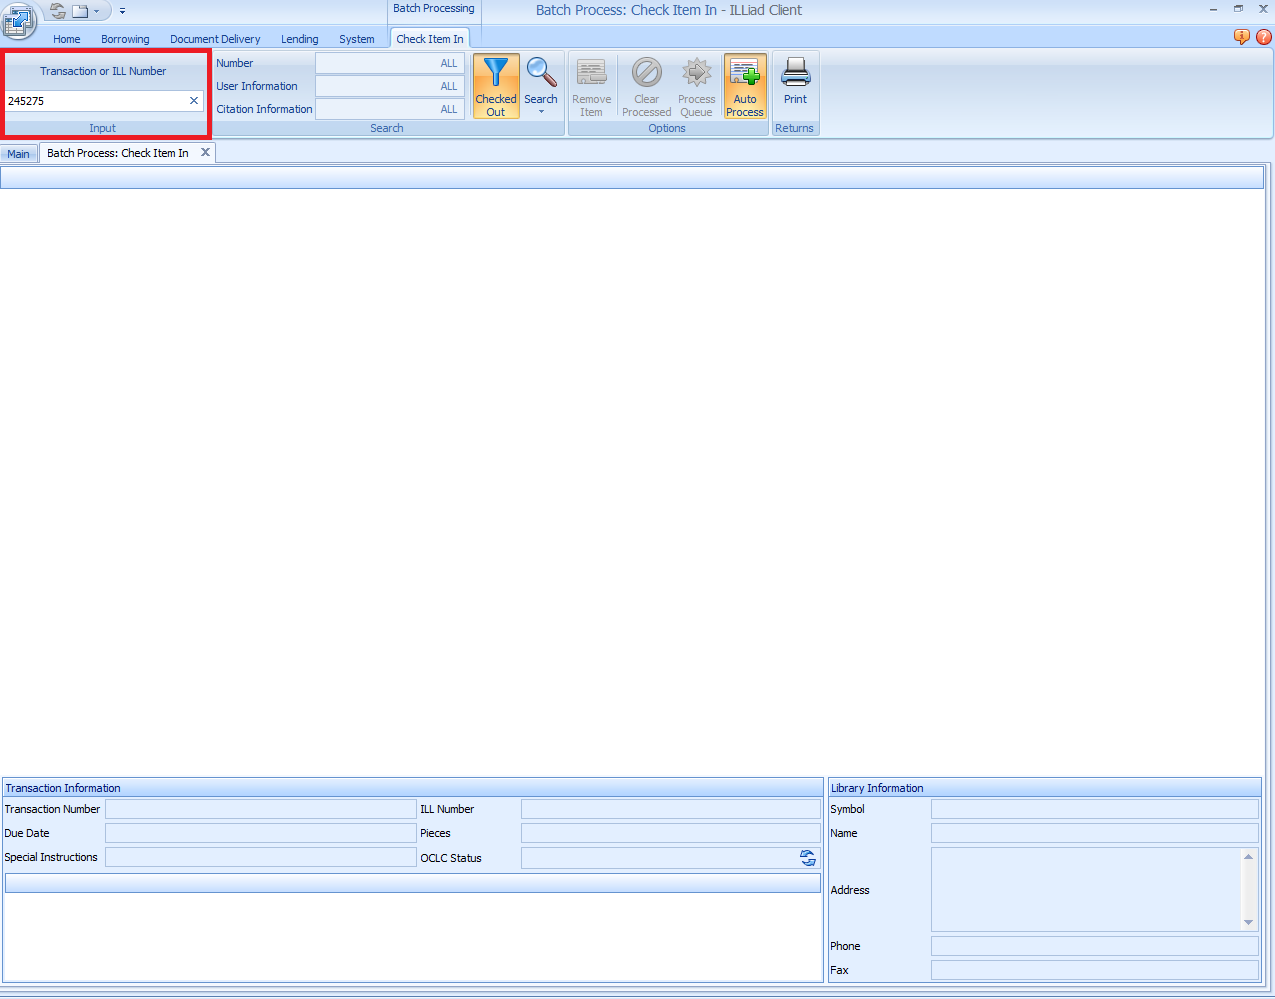
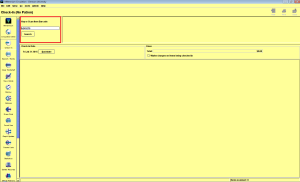
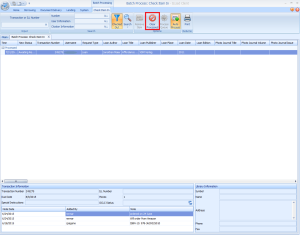
- Scan the item bar code or type the transaction number and hit enter in the Transaction or ILL Number box. Look in the notes field to see if any special shipping directions, such as “no jiffy bags” are given. If there are special directions, write them on the band. Repeat this step for all returns.
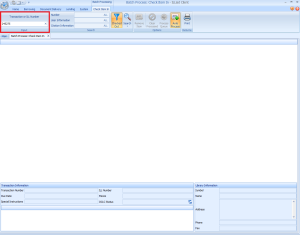
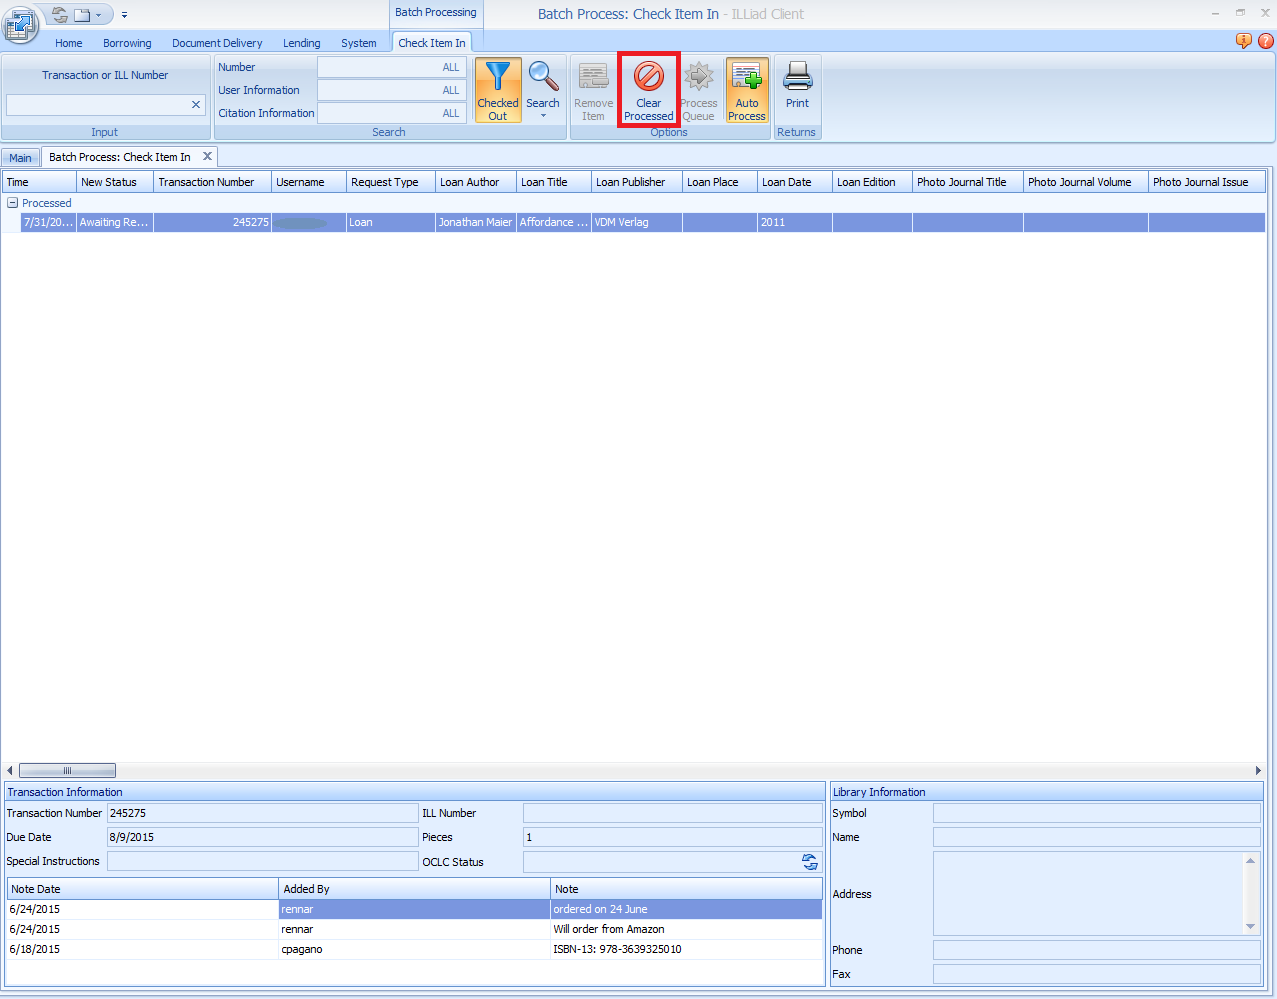
- When all returns have been entered, click “Clear Processed” to change the OCLC status of the item.
- Close the borrowing check in tab, and return to the borrowing ribbon.
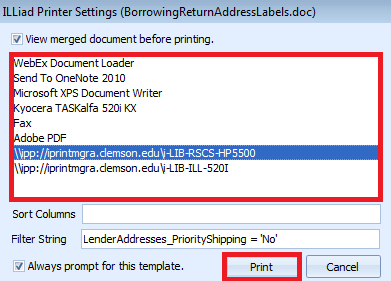
- Click “Print Returns” to generate shipping labels. A filter is in place so shipping labels for Kudzu and PASCAL libraries will not print.

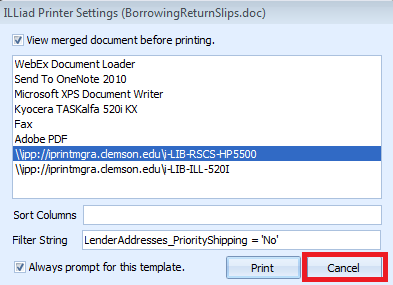
- Click “Cancel” on the pop up for printing return slips.
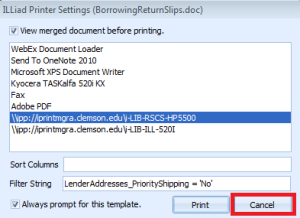
- Select the appropriate printer and click “Print” on the pop up for printing return labels.

- Proceed to package the shipping.