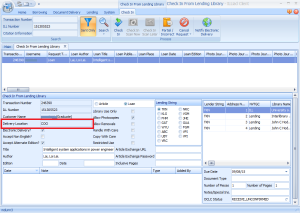
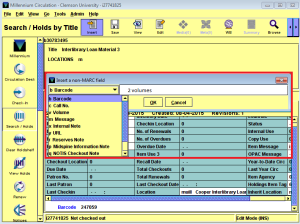
When a loan comes in from a lending library, it must be checked in in ILLiad, processed with a band, and given a Millennium item before it can be dispersed to the patron.
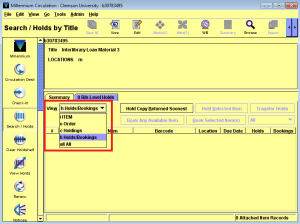
- In Millennium, click “Search/Holds” in the left sidebar.
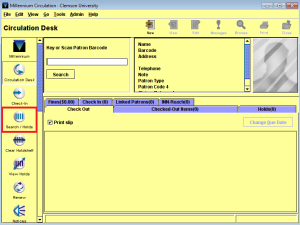
- In the title search box, enter “Interlibrary Loan Material 3” (or press F12 if you have the hot key set up). Then press enter on the keyboard to search.
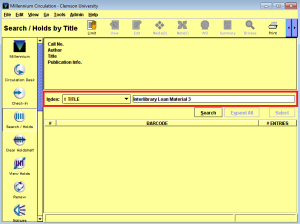
- When the Millennium record loads, change the view from “h Holds/Bookings” to “i Item.”
- In ILLiad, go to the borrowing ribbon.
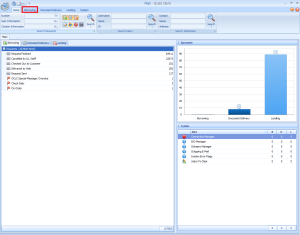
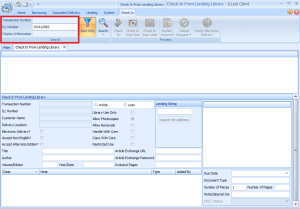
- Click the button to “Check In From Lending Library.”

- In the ILL number box, scan the bar code or type the ILL number and press enter.
- Wrap a band around the item (or place the item in an envelope with a staff use only sticker if it will not accommodate a band) and secure it with tape. Do not attach tape to the inside cover of the book (use a slip of scrap paper). Make sure all paperwork from the lending library remains in the book. Using it as the thing the band it tape to will ensure it will not fall out at a later time.
- Check the delivery location in ILLiad. If it says anything other than “COO” it will need special attention.
- If the book is library use only, place a library use only sticker at the top of the band/envelope.
- If the book looks damaged or fragile, place a handle with care sticker above the staff use only area of the band.
- Write the transaction number near the top of the band.
- In Millennium, click the “Attach New Item” button.
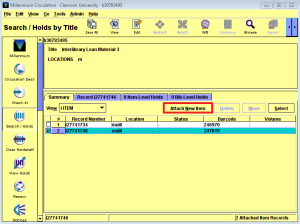
- Click the “Attach New Item” button.

- In the text box, scan the bar code or type the transaction number and press enter.
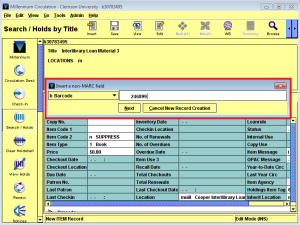
- Click the insert button.

- Select “c Call Number” in the drop down menu.
- Copy the title of the book from ILLiad, then paste the title into the call number box and press enter.
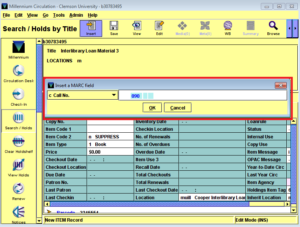
- Click the save icon to save the record.
- Click the summary tab to navigate back to the main record.
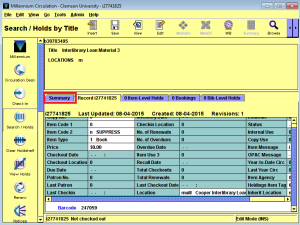
- Press the “Check In” button and place the book in a pile.
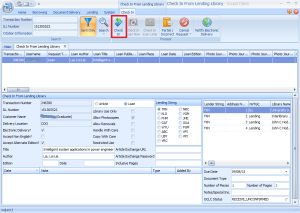
- Repeat from Step 6 for each loan item.
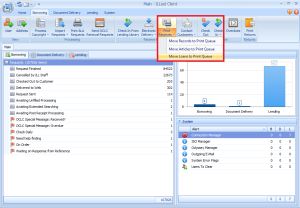
- In the borrowing ribbon, click on the bottom half of the print receives button and select “Move Loans to Print Queue.”
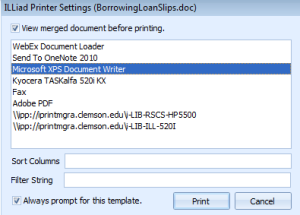
- On the pop up to print labels, select your printer, then hit “Print.”
On the pop up to print slips, click “Cancel.”
- Print the file of labels onto label sheets. Place these labels on the corresponding books atop the transaction numbers you wrote on the bands.
- Close the files of the labels. Do not save any changes.
- Refresh the ILLiad screen.
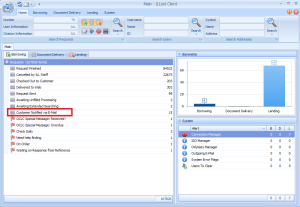
- Double click to open the queue “Customer Notified via E-mail.”
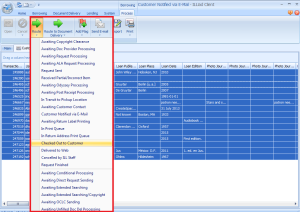
- Route all requests in the queue to “Checked Out to Customer.”
- Click “OK” on the pop up message.
- Refresh ILLiad.

